Showing posts with label decorating. Show all posts

Saturday, March 16, 2013

Deck plans and dreams

We are tearing down our deck and rebuilding and expanding it. We are nearly doubling it in size. The deck now sits at 14' X 10'. We will end up with 22' x 14'

 Here is a picture of the deck now (as we start to remodel I will post more before pictures. I LOVE before and afters!)


And here is the placement of the new deck in relation to the current deck


No, it won't be a turquoise deck, although I think that would very whimsical.

OH! Not this year, but next, we will be adding a white pergola to the top. We are learning that Pergola's are nearly as expensive as decks.  So a lot of the posts will actually be longer than necessary to accommodate the addition of the pergola in the future.
This, is with the pergola. 


Aren't my drawings incredible? Ha!

The pictures where taken looking east. We will be adding 4 feet out to the West and about 12 feet to the North. There will be a little bridge about 4 x 4 feet wide going over the basement door to get to the new stairs. The stairs will change from heading North to heading out to the West.

. I am SOOO excited for this! Kevin keeps saying, "This is going to be the nicest 'room' in our house." Which is true. This marks the first significant investment we will have made on the house. 

I know my drawings are awesome, but here are some inspiration pictures and details I'd like to include:
I like the post details of this one

 
I like how wide the posts and posts caps are

I would LOVE to have electricity in the pergola!

Our deck faces west, so curtains are a must

Again with the curtains

I really like the contrasting colors here

More lighting on the pergola
 

While I love, love, love the location and the yard of our home, the layout is a bit awkward and the house is getting up there in years. My dream of dreams is to level the whole thing and rebuild. However, I have come up with a few plans (that nearly gut the thing) that will save us from leveling and still make the home more functional as our family grows...meaning when our kids get married and start having kids. It does NOT mean that I will be having any more kids. ;) This just makes the first step of changing things up.

Anyway. 

Today we finally decided on the color. It came down to two choices who happen to be complete polar opposites.

Vintage Lantern from Trex


and Rope Swing from Trex


I think both of these look great with the house. Our brick has a lot of colors in it.


but it came down to function. We did a sun test. We left both samples out in the 55 degree heat today (don't mock. My kids were in shorts. It was dang near hot!) for about a half an hour. Then I brought them both in, had Kevin close his eyes, and put his hands on both samples simultaneously. The vintage lantern was much warmer. Since our deck is west facing we feared the darker color would dissuade us from using our nice, new deck for fear of baking to death in the middle of the summer.  Plus, the lighter color will allow any dark deck furniture that we get to pop a little more ;)

Rope swing it is!


 Monday we will finalize the railing. We've decided on going with metal, except for the posts. After that just a few more crossed T's and dotted i's and we should be able to start digging! My goal is to have it all completed by the end of May. 

Here is a picture of the color scheme we are going with.

 We debated for quite a while about whether or not to add a drink rail on top of the railing (the top picture), it's basically one of the deck boards secured to the top of the railing, but I think in the end we are going to go without it.(the bottom picture)

The picture is not the size or shape of the deck, we only want one level etc.,  but you get the idea.

I've been dreaming about deck furniture and outdoor pillows. 


 I especially love this one. That patterned fabric is perfect!


Ooooo and this one


And this one


All things that will probably have to wait until next year as well. Still, one step closer is better than nothing!


(Most of these pictures I grabbed from my pinterest page. If you want the original source for the image, head on over there :)


Saturday, April 17, 2010

Repurposed and reorganized a.k.a THE SEWING ROOM IS DONE!

It started with this

A boring, brown, cheep, pressed laminate, bookshelf. I've already taken off the top shelf in this picture. I wanted to use it in my sewing room, but that brown monster did not fit in with the vision.

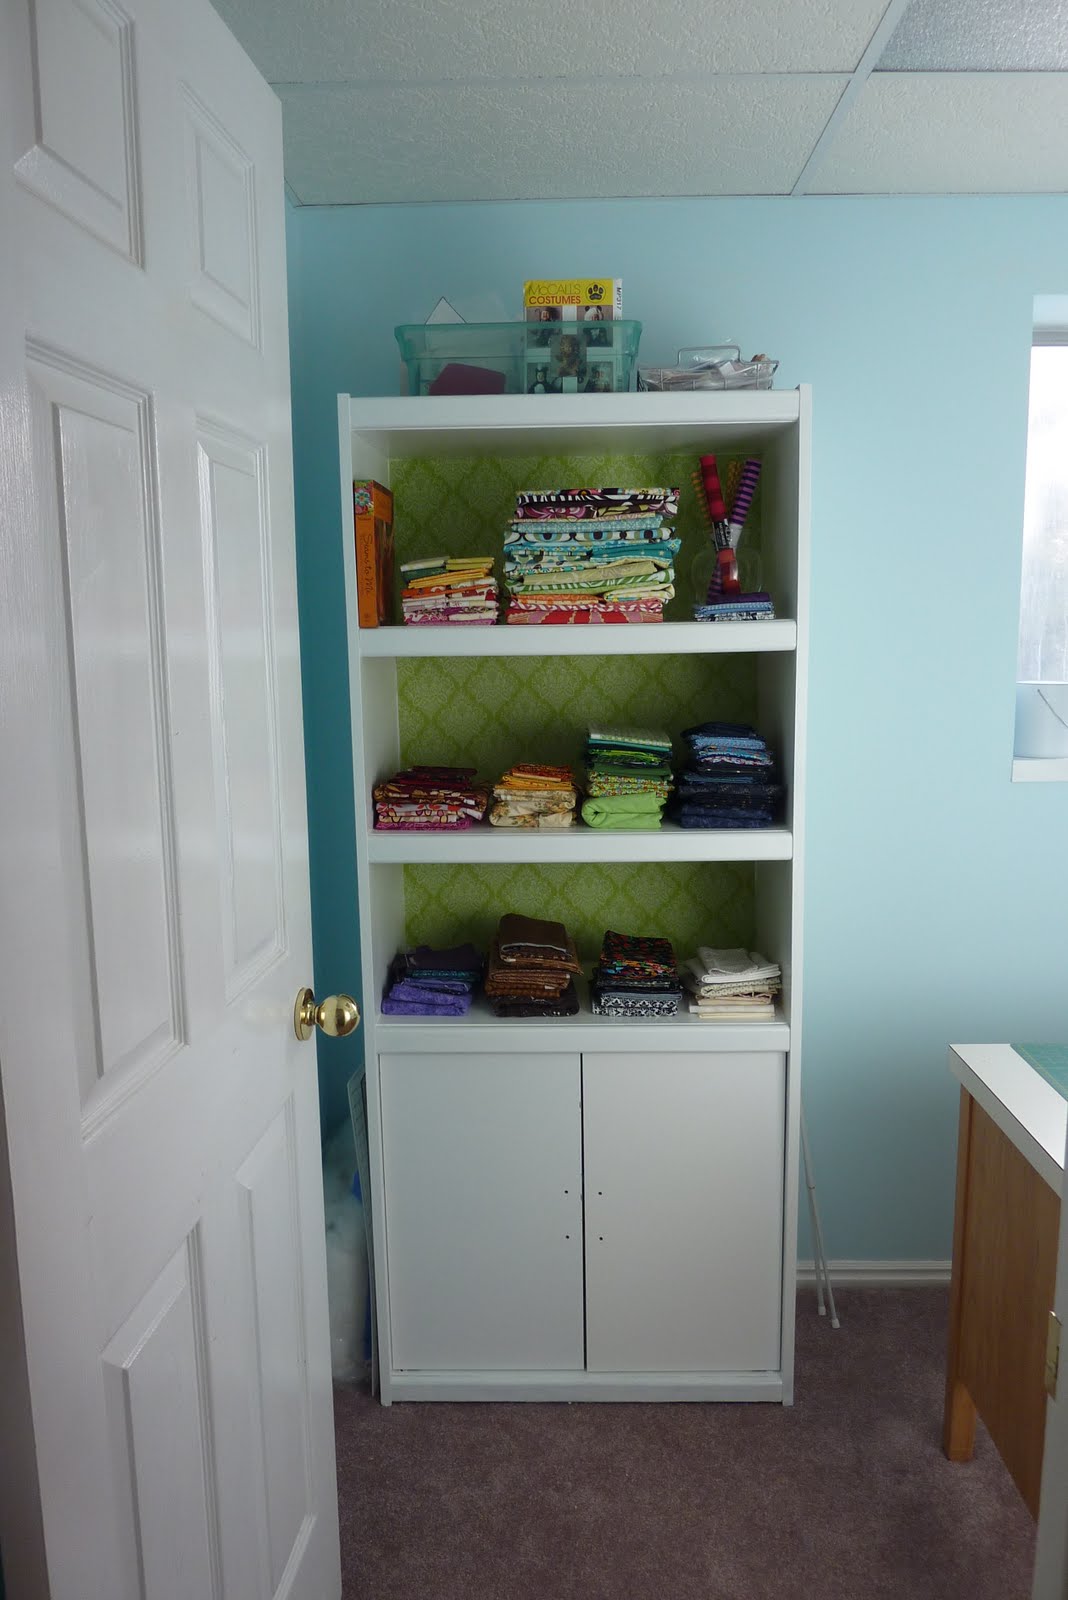
After a little high gloss white paint and some amazing fabric....voila!


Then I tried to put the shelves back in.........

This is when I realized that if you are going to paint laminate with a high gloss paint, it is in your best interest to prime first. Even if it means taking a whole other day to complete the project. Which at the time seemed unimaginable. But the paint made everything fit a little bit more snug meaning I REALLY had to convince the shelf to move back home. End result?

This
Sad, I know.
However, with a little touch up paint and sewing book for foreshadowing and interest, here is the final product.


OK, not the final product. I am waiting for these to replace the door knobs. I haven't put the doors back on in that picture yet though.

I KNOW! Aren't those knobs Amazing!

Now, I forgot to take a picture of the sewing room BEFORE we cleared it out. Bummer.

BUT I did take a picture of all of the stuff from the sewing room sitting in my office.........

(Can you believe ALL of that stuff fit into a 5'5" X 10'3" space?!?!?! I really wish I would have taken a picture of the sewing room stuffed to the rafters. Aw well)

......and of the mostly empty sewing room, before I painted.


Well, before I finished painting anyway. See that hint of blue? That's the new color for the room!

After hours and hours of sorting through every.single.thing. that came out of the sewing room originally, my mom and I (thank you SO much mom!!!!) got everything organized. Hooray!

Once more (just for drama)

Before


AND

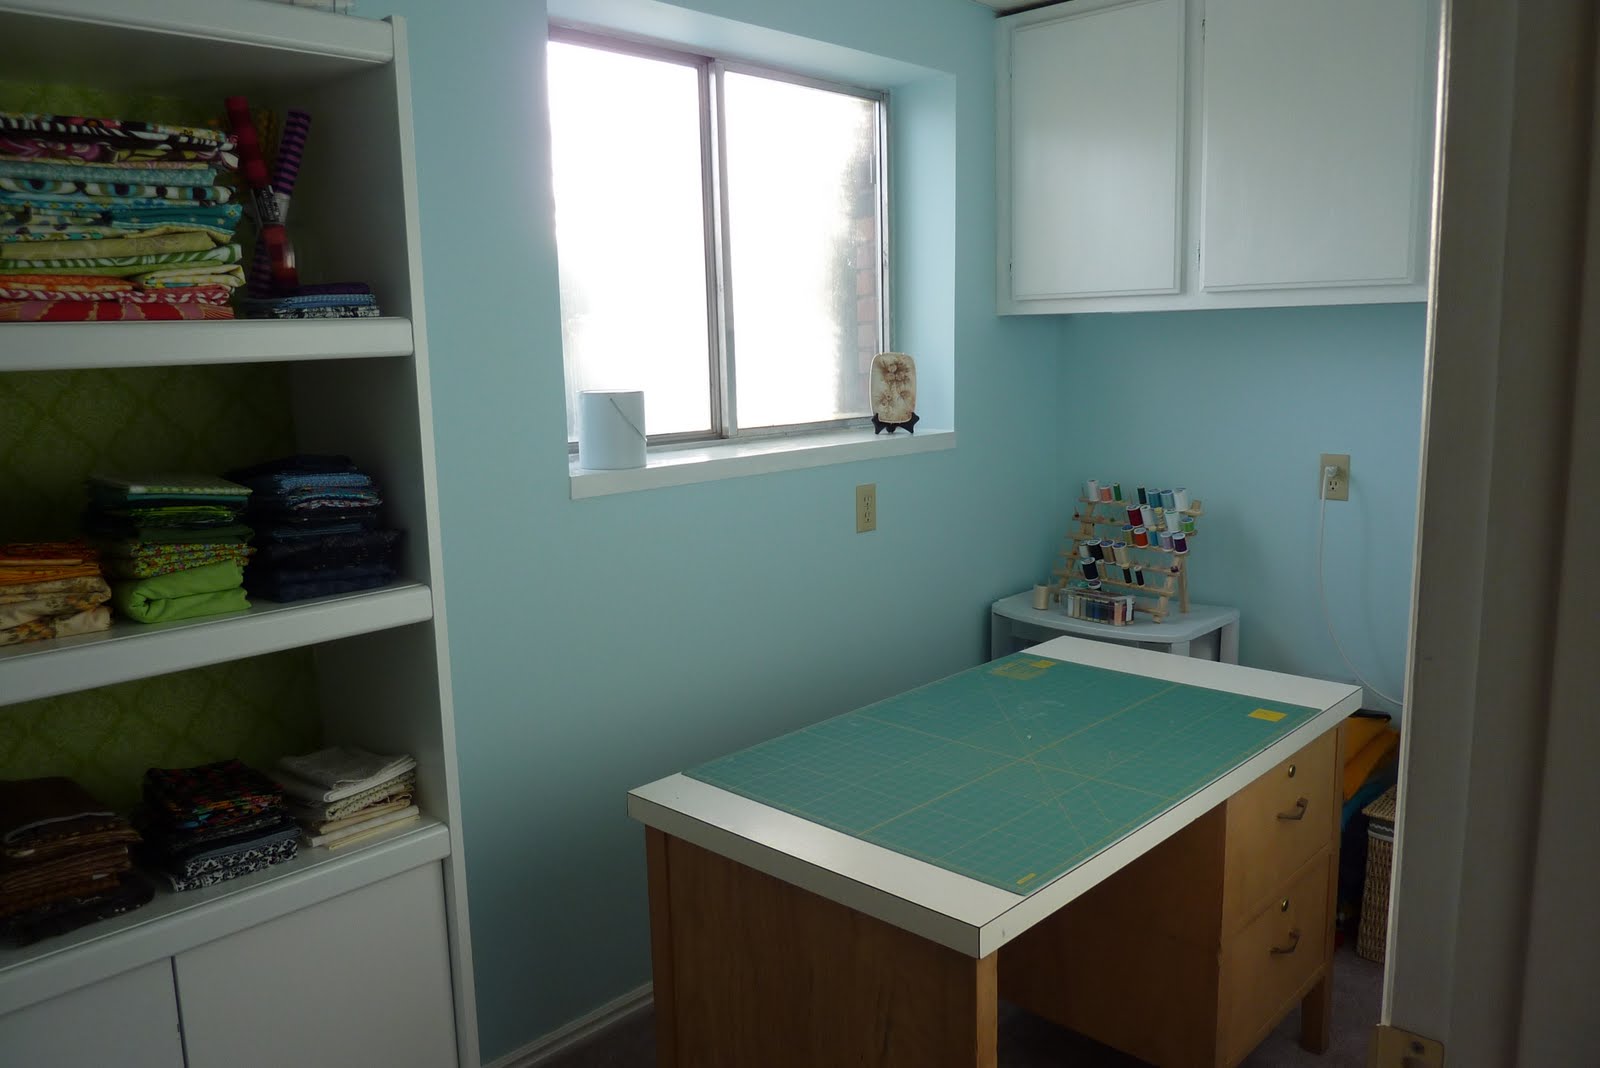
After


I am using this space as a cutting/storage room.

Which my family will be grateful for because I will no longer commandeer the kitchen island with my crafty-cutting madness.

The actual sewing will go on in the office.
Here
(This is the same space where we put all the stuff from the sewing room so the room could be painted and the stuff organized---looks way bigger without all that stuff in there!)

That way I can keep an eye on the kids better, I won't freeze in the winter (the windows are old and need replacing. Especially in that sewing room), PLUS there's a T.V. in the office for background noise when I sew late at night.

Don't worry. I have plans for that space too. Paint, vinyl (Annie get ready for a call soon), etc.

I plan on painting the sewing furniture white and the office furniture black. Moving the "office" pictures to the office side, putting up vinyl on the wall behind the "sewing" side to define the two spaces.......

I found that awesome sewing table at D.I. for $15! It had an old sewing machine in it.....but that's for another post.

There are a few more "decorating" things to do in the sewing room. I normally do not dig lighter colored wood. But I love how that old school desk Kevin and I bought from an auction USU had for their old class room junk feels with the blue walls. Plus my cutting mat fits like a glove!!!


AND it perfectly houses all of my ribbons.


The drawer just came that way. *Sigh*

I want to add some dimension to the desk with white, cherry blossm-esque vinyl running along the sides and back. Or maybe something like this.

Also picture a few apothecary jars housing my fabric scraps, like this, sitting on the window sill right next to the ceramic plate my Grandma Gertrude painted.

Oh, and curtains. The window needs curtains.


As well as a good cleaning.

And eventually all the face plates and outlets will be white.

I am toying with the idea of a white peg board on the wall opposite the window,

to hang scissors, marking pens, and other sewing items.

But decorating is the easy part.

I keep walking in there just to see if it's really my space.

Organizing may be hard for me to achieve, but I sure know how to appreciate it once I finally get there!