
BUT, I didn't realize I neglected to show much of a completed deck. At all. The last deck post with pictures is here and that was clear back in May!
There are so many pictures to share, so curl up and settle in :)
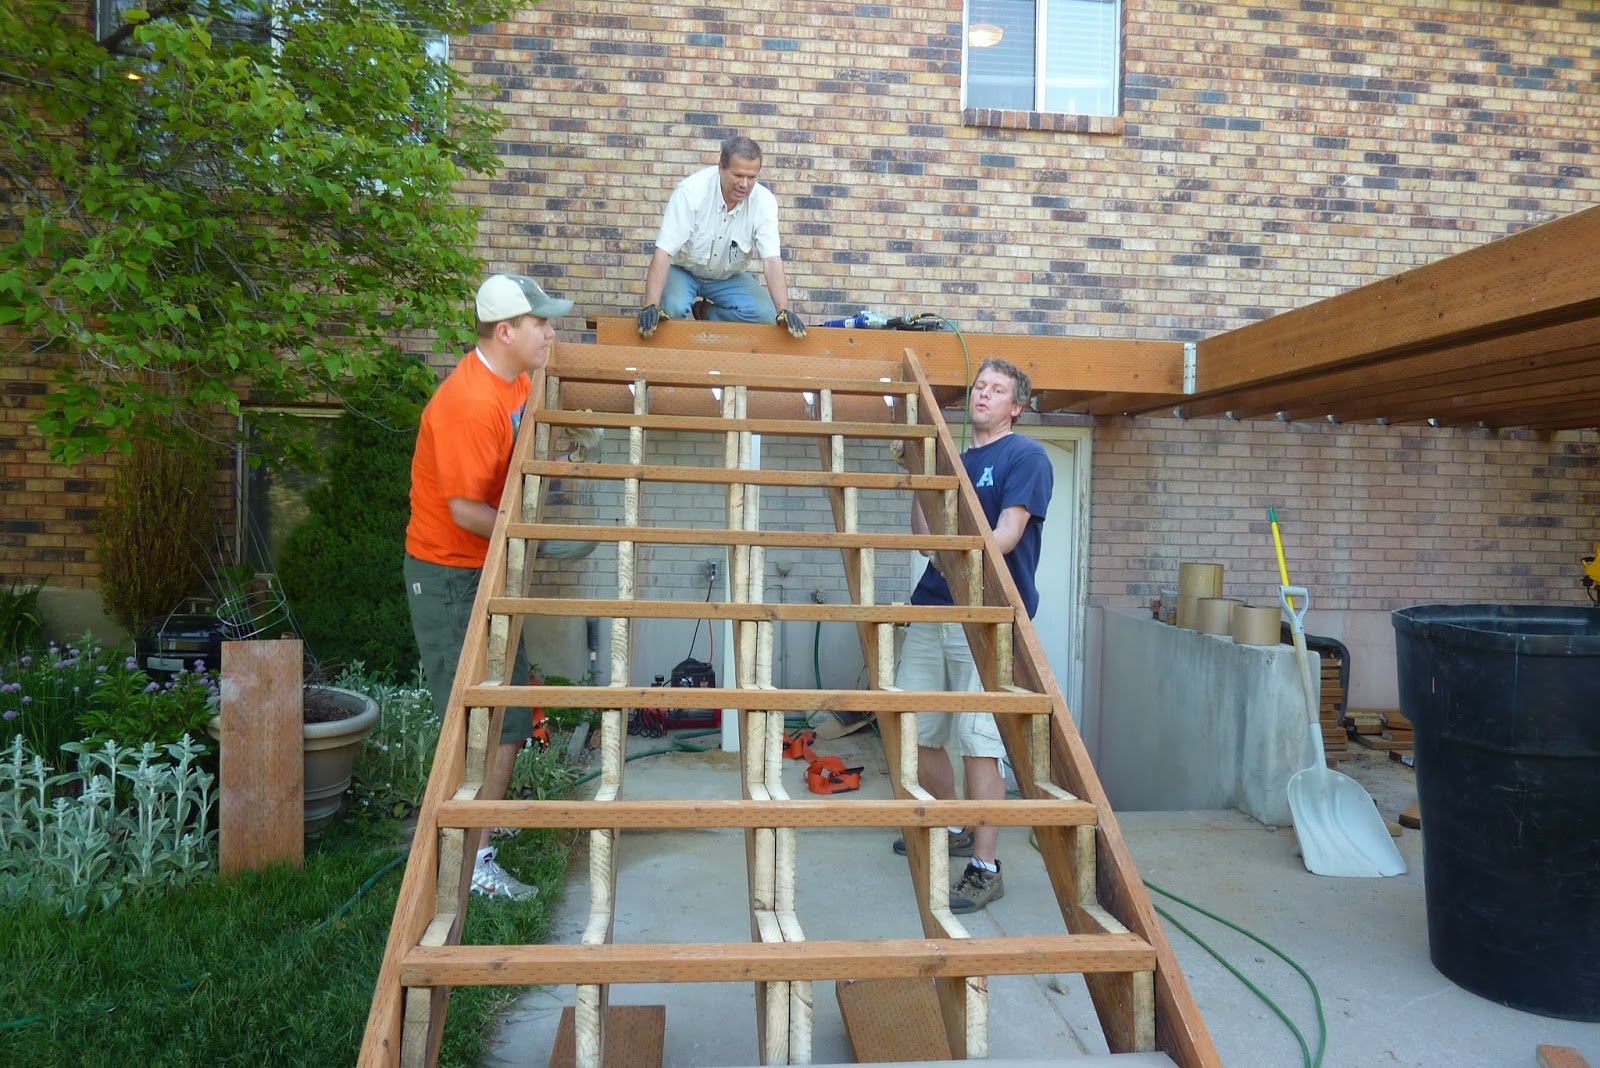
The last post left you here,

but I never showed you the cutting of the bricks in order to instal a new ledger board to increase the size of the deck.
It's serious business to think about cutting into the brick exterior of your home. No going back after you do that!


Beckham wanted in on all the power tool fun. He had to just watch for this part, he got as close as we would let him.


Alright, so skipping ahead because the last post talked about installing the new ledger board and all that, we had to double scab on the old joist to make sure they would support the new deck. BUT while were at it, don't those white columns look fantastic! Love a good white accent.


Are yard was a gigantic mess!


Here is another really exciting part! The little bridge over the downstairs door. This little bridge allowed us to move the stairs and really open up the deck. It was SO heavy!


Then after the did a dry fit they realized the ledger was not square, which is not a problem, but they had to custom fit the little bridge to compensate. Down it goes again.

We put glue on the edge that butts up to the large portion on the deck to really help it be one solid piece.


And it's up!


It's starting to look so good!


Here is a completed double scab on the old joist.


Can you see that little square just under that white plastic table? That was the home of the furthest post of the old deck.


There's that little square of cement again. We really bumped out the deck in a big way.


May 25:
we added stairs. Here are a few before pictures first....
A good shot of the double scab from the top.

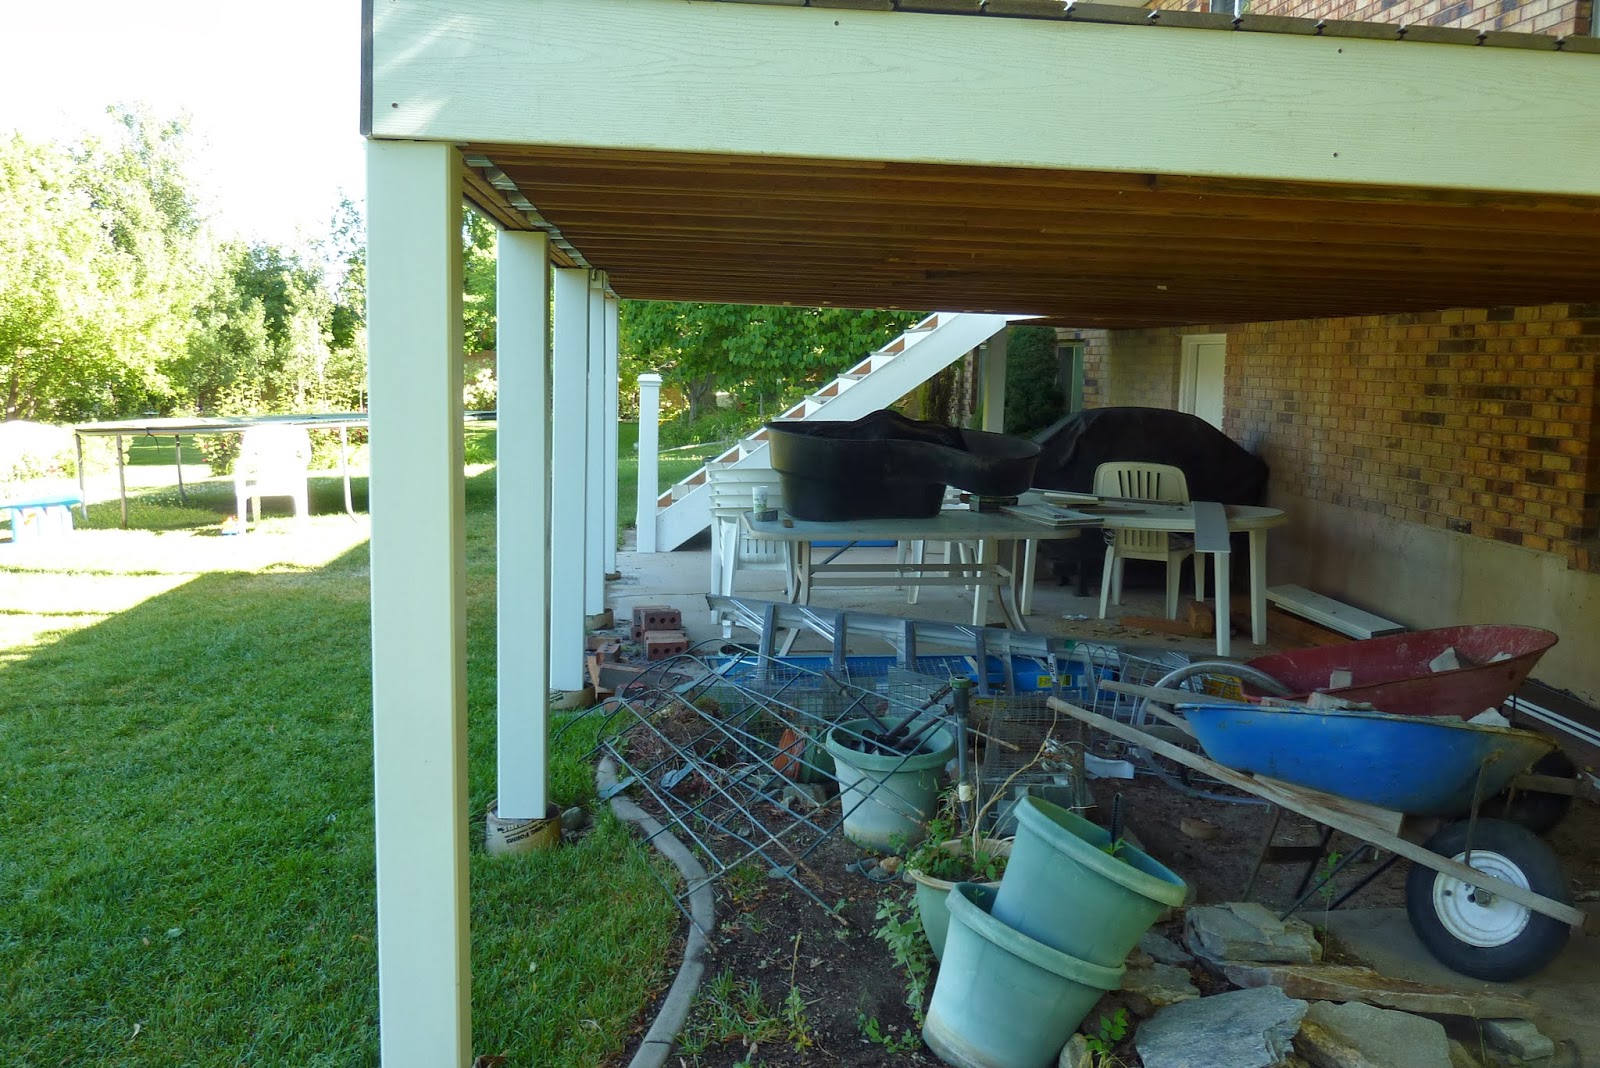
What under the deck looks like without stairs.


Contemplating how much work needs to get done still.


I don't have a picture of the stairs being built. If my memory serves me right, we had to be somewhere and Dave is a machine and whipped them out while we were gone. SUCH a hard worker!
I tried to help lift the stairs, but my height and the ridiculous weight of the stairs prevented me from being much help. Thankfully, our awesome neighbor has more than enough height and strength to spare!

After the stairs we worked on installing the trex to the whole deck. I don't know why I don't have pictures of that because it really took SO long.
June 8:
we worked on installing the post brackets.

Oh, and in the next picture you'll also notice that we added white fascia to the outside of the deck. We really, really, REALLY wanted this to be super low maintenance.


June 9th:
Greg came to help and brought their awesome water slide to entertain the kiddos. Thanks!


Here's a good shot of the fascia around the outside of the deck and on the stairs. Again, LOVE a good white accent!

You'll notice that some of the posts are taller than others. That's because, eventually, we plan on adding a pergola over the deck and the tall posts will support that.


June 11:
Posts with white sleeves and caps. Gorgeous!


We used some Pick Your Plum twine and washi tape to determine how high we needed the bottom post.

The stairs are wider than average and we love, love, love them!


Now one of my favorite bits. Outlets! Under the deck!

That metal tube runs all the way up through the tall post in the middle on top of the deck for future lighting. Hooray!


June 14:
Adding post sleeves and more fascia to the stairs.


Nearly complete. Just needs a railing!


Swoon. I love it.


I jumped on the tramp and held the camera above my head to get these next shots. Excuse any blurriness.


How about a good before and after?
Before


This spot on the end here is the site of the slide. I think I still need to take a picture of it.

June 15:
While researching railings, we discovered AGT. To purchase the railing from them AND have them install them cost just as much as just buying the railing from Lowe's. We were SO grateful at this point to have someone else doing installation!

The space between the two posts on the end are for the slide.


Perfect shot of all the old deck wood sitting in our garden.

Meanwhile, with all the old deck wood, Karaia built a thrown.


We had to trim a few of the trex so the slide would sit right up against the deck. Do you love how I say, "we" but it's rarely me doing the work ;)


And that's it for now. The slide proved to be a gigantic pain. But this post is far too long already. I will continue shortly....I hope!